

It might seem tricky, but it’s way easier to master capturing screens. Isn’t it astonishing that some of us still haven’t become pro of it? Here you will get all your answers. We use PCs regularly, but how to screenshot on Windows remained a mystery.
This simple way of capturing the screen whenever you want should be at your fingertips.
Microsoft Windows came with this feature of screen printing decades ago (since the late 90s) but today there have been several advancements introduced in the use of Snipping tools or Snip & Sketch.
The bit you can press on the Window key- PrntScrn keys along with OneDrive and Clipboard.
In this guide, we will delve deeper into how to screenshot on Windows using various methods and on different devices.
Table of Contents
How To Screenshot On Windows Using Different Methods?
Although third-party applications seem tempting should they be always your go-to option? No right, so here we have these super easy keyboard shortcuts that will allow you to capture screens on Windows.
Method # 1: Windows key + Shift + S And Use Snip & Sketch
This one seems to be a breezy procedure as you take screenshots using Snip and Sketch but using the keyboard.
You need to press the Windows key, shift, and S simultaneously and you can capture either full screen, half screen, or just a program window.
You can also use Snip & Sketch using action’s Centre screen Snip button which might seem easier than the previous one.
Now comes the third way to use Snip & Sketch, just navigate to Windows’ settings, move to ease of access, select keyboard, press on the PrtScn Button and screen Snipping will appear.
The function won’t proceed until you restart the windows. Once you are done with snapping, a small thumbnail will appear at the bottom right corner of the screen which says Snip is saved to Clipboard.
Here you can click on it and a Snip & Sketch window will appear. You can mark this using a highlighter, Pen, pencil, and eraser. You can save this image and share it on any social media or even a nearby PC if you want.
But if you want to add any text, shape, or crop ratios you might need to use any photo editing app.
Method # 2: Using Print Screen Key Along With Clipboard
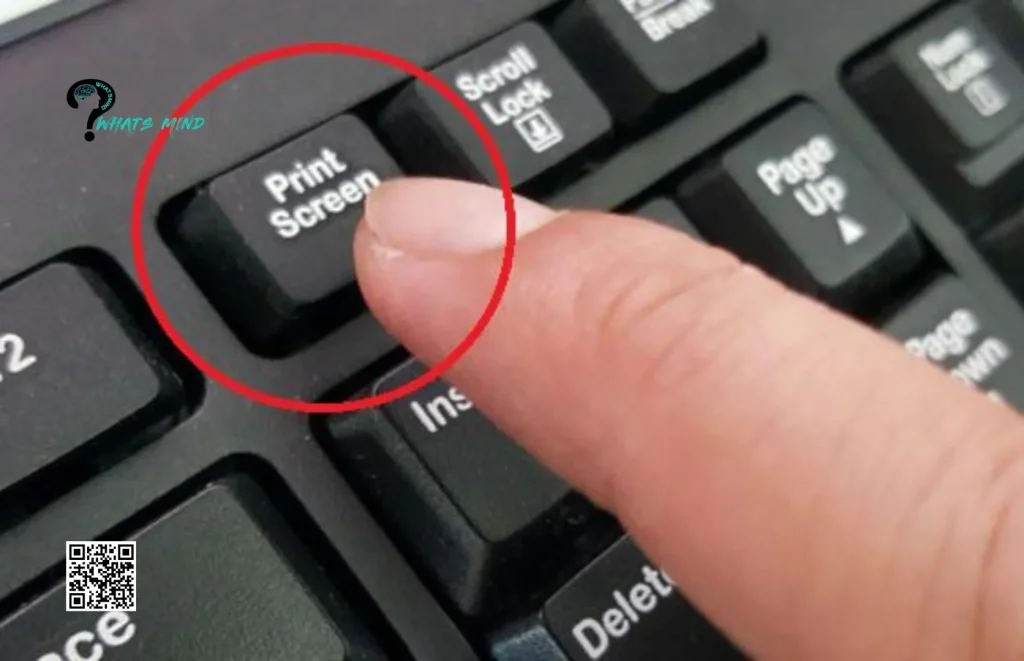
Another classic means of taking screenshots in Windows is by simply pressing on the PrntScrn button, it could be spelled differently on your keyboard like PrtScn or PrtScn, etc.
Pressing on the key captures the whole screen and saves it to Clipboard while Alt-Print Screen only captures the active window.
Once it’s copied to the Clipboard, you need to paste this image into any document or an app that can do further changes like Paint 3D, Microsoft Paint, or Photoshop.
It’s particularly handy when you are taking screenshots of apps that change appearance when you press a keyboard combo, sometimes menu gets collapsed when press on a shift key.
Method # 3: Using Print Screen Key Along With OneDrive
It’s another fantastic method that has made taking screenshots easier. This means you have to simply change your settings so that your captures automatically get saved to OneDrive. This method first rolled around in 2015 and has been popular since then.
How to screenshot on Windows using OneDrive? You need to navigate to OneDrive’s setting menu, and click on ‘Save screenshots I capture to OneDrive’.
After this, when you click on Print Screen for entire screen capture or Alt Screen for partial screen capture, a PNG file will be saved to the screenshot folder in pictures, saving the hassle of an additional app.
You will be pinged with a notification from the Windows’s action centre which says your screenshot has been saved successfully and clicking it will take you right to the desired folder.
Method # 4: Using Windows’ Game Bar
Navigating the game bar is possible by pressing Window Key-G, a webcam will appear right after. You can select it to open the Capture section which has a camera icon.
After clicking on it your screenshot will be saved to the capture folder placed within the main user folder.
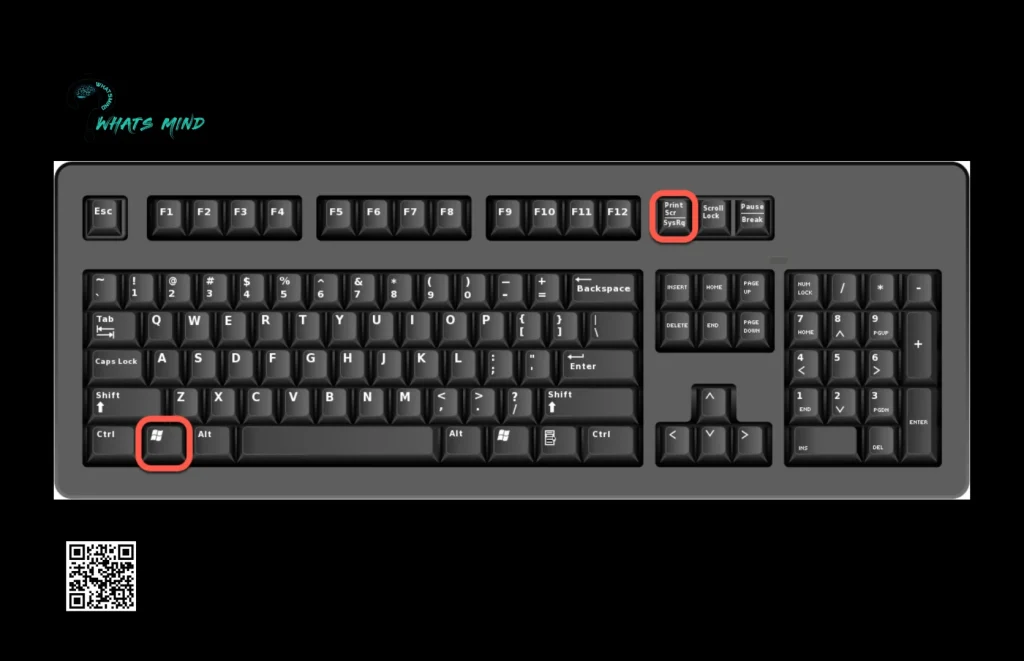
Method # 5: Using Windows Key PrntScrn
It is one of the classic ways to capture the screen, when you press on the key PrntScrn, the screen darkens for a moment which points towards the successful saving as a PNG file to the screenshots folder. What if you are using tablets? Simple, just volume down and power button simultaneously and the screen will be captured.
Using Alt-Windows Key PrntScrn will save only the active window but the images will be saved to a different folder, but if you want these features combined, use Windows Game Bar.
It’s particularly useful if you want to avoid saving screenshots without hassle if using OneDrive and Clipboard.
Method # 6: Using the Snipping Tool (Not Snip & Sketch)
People often confuse this tool with Snip & Sketch, but both are way too different than each other.
How to screenshot on Windows using this tool? It’s not quite as overwhelming as it sounds, just open the Snipping tool app, open the menu, and click on new. The appeared option will allow you to choose a rectangular snip, free-form snip, full window, or full-screen image.
After taking a screenshot, it will appear in the app, where you can make changes and finally save. You can alter the settings to automatically save it to Clipboard.
Which window are you using? If it’s Windows 10, then using this tool might seem more troublesome comparatively Snip & Sketch as in that you don’t need to open an app to make changes.
But if you are using Windows 11 (an upgraded one) it contains features that combine features of both Snip & Sketch and Snipping Tool.
Method # 7: Double-Clicking Surface Pen
How do screenshots on Windows if you have a Surface Pro? If you have a digital-inking-capable touch-screen PC device, then the procedure is like a breeze.
You just need to click the backspace twice of your Surface Pen.
It will open the Snip & Sketch tool, where you can annotate, edit, and share to nearby devices.
How To Screenshot On Different Devices?
How to screenshots on Windows PC has been decoded bit How to take it on different devices like smartphones or tablets. To take on mobile devices press the power button and volume down button together and the screen will be captured.
But while watching streaming platforms like Hulu, Netflix, or Amazon Prime, you can’t take screenshots as these are forbidden by DRM, and taking screenshots violates the terms of the services agreement.
Bottom-line
In conclusion, there are several trucks to tackle on a sought-after question of how to screenshot on Windows. You can press the Windows key PrntScrn with OneDrive or a clipboard, which will save the capture to a designated folder.
You can also use the Snip & Sketch tool which allows you to choose whether you want to capture full screen, half screen, or just a window.
The Snipping Tool is advanced which allows you more dynamic features and double-clicking on surface pen seems to beat all other methods as it combines both Snipping Tool and Snip & Sketch.
Give it a thorough read and share your opinion on whether this guide was helpful for you.
FAQs on How To Screenshot On Windows
How To Make a Screenshot on Windows 10?
It’s pretty easy, just press the Window log key, shift S, and then press on PrtScn.
How do I screenshot on Windows using a keyboard?
You can do it by pressing the Window key and then the PrntScrn key, your screen will darken for a moment which indicates the screenshot is taken and then it will be automatically saved to the screenshot folder in pictures.
You would like to read about:
- How To Deactivate Facebook On Android & iPhone? Privacy Settings & Reactivation Procedure
- Facebook Gaming App Rank 1st in the United States
- Why Reddit News is the Second Most Trustworthy Site for Information and News
For more information, visit Whatsmind.com